READING LISTS |
FEATURED LEARNING GAME Baby's Learning Laptop |
| Bytes for little bits! The Baby's Learning Laptop by VTech is an electronic learning toy designed to introduce little ones to computer play. more info... |

TRY THIS EASY CRAFT Paper Sculptures |

PRINTABLE WORKSHEETS Letter "E" Handwriting |
| Learn to write the letter "E" with 5 practice words. Don't forget to print our blank handwriting paper. more info... |

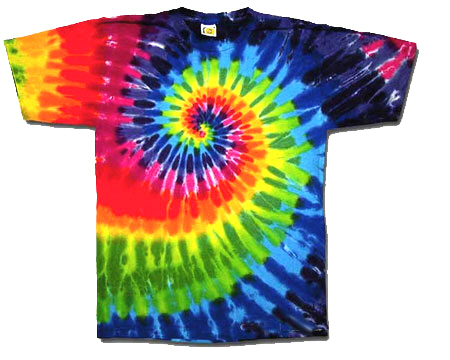
| Featured Family Activity - Summer Tie-Dye Shirts
This page gives very basic instructions for using 1 or 2 colors for just a shirt or two at a time, but if you find your family loves doing this you can try different tying patterns and color blending, along with dyeing other things besides shirts. I think tie dyed tote bags are awesome. You will need:
1. Purchase a simple cotton T-shirt for everyone who wants to try to tie dye. 2. Get some fabric dye. This is available in most stores. Walmart sells it and so do most craft stores. RIT is a popular brand, but compare prices. For our purposes the cheapest dye is fine. 3. This next part of making tie dyed t shirts is really fun. Start wrapping rubber bands around sections of the shirt. You can fold then wrap, or bunch and wrap. For lines that go completely around, put rubber bands around the whole shirt. For circles, pinch up a section of the shirt and apply a rubber band. And for sunbursts, grab a large section of T shirt and apply a row of rubber bands a couple inches apart. 4. This is the part we do outside. Put on the rubber gloves and make the dye according to the package instructions. This is going to involve hot water so be careful and make sure you use a dying container that can withstand the hot liquid. Pots, or buckets usually work well. 5. Put the t shirt in the bowl of dye. The longer it sits in the dye the deeper the color will be. Rule of thumb is to leave it in the dye until it looks a little bit darker than you want. After you're done it should look the way it want it to. 6. If you're working with more than one color dip a portions of the shirt in one color, then the rest of the shirt in the other. If you want to be daring with your first tie dyed t shirts, and dip the whole shirt in two different colors, make sure you dip in the lightest color first, rinse, then move to the next color. Always go from lightest to darkest. 7. Once you're done with the dye baths rinse your shirt in cool water until it runs clear. Carefully cut off the rubber bands. 8. At this point you can hand wash your tie dyed shirt in warm water with a bit of detergent. Rinse again in cool water and roll in a towel to ring out excess water. Hang it or dry by itself in the dryer. Make sure you wash your new t-shirts alone or with like colors the first couple of times in case the dye bleeds in the wash. |